
Moving From Pen and Paper to Barcode Scanning in Nigeria
Olamide Ademola · · 11 min read
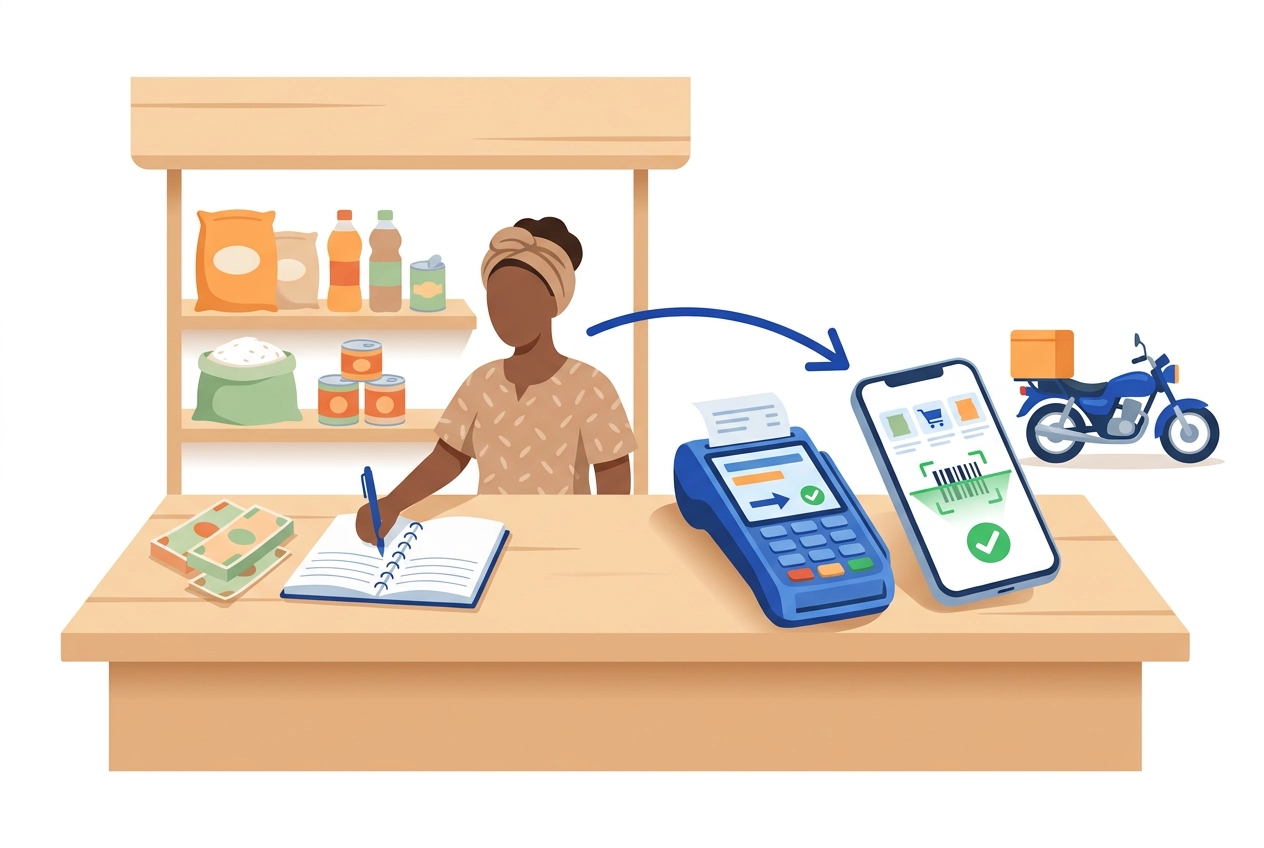
How long does your queue get before the notebook stops keeping up?
A customer drops a tin of milk on the counter. You reach for your notebook. Someone behind them wants change. By evening the page is full of crossed-out lines. Paper works when the shop is small. It struggles when the queue grows.
Moving to barcode scanning sounds like a big step for a supermarket or provision store. It is not. A basic scanner is a small device that reads the number under the lines and types it into your till, like a keyboard. This guide explains what a barcode is, how to test a scanner before you rely on it, what to do when a scan shows nothing, and how to start with one scanner and one week of scanning.
Why Paper Sales Start to Struggle at the Counter
It usually starts the same way. A hardcover exercise book or loose sheets kept near the till. During the morning and evening rush, with customers waiting, the writing gets fast and untidy. That is where things begin to slip.
Handwriting turns into something only the writer can read. Prices get remembered wrongly under pressure. A slip goes missing between the counter and the store room.
Then there is the blind spot. Paper gives you no live picture of stock. Fast movers finish quietly while slow movers sit on the shelf tying up money you already spent. If your shelves and your records never agree, here are five habits that keep your count and your money honest.
At closing, totalling the day by hand takes time and small arithmetic errors creep in. And when a customer comes back about a price or a refund, there is no clean record to check.
Paper is not wrong. Plenty of shops start there. But it has a ceiling once you carry more than a few hundred items and more than one person serves at the counter.
What a Barcode Actually Is: The Number Under the Lines
A barcode is just a product number written in a form a machine can read. As GS1 Nigeria puts it, the GTIN is the number you see under the barcode on product packaging, and the same number you use to list that product online.
That same number answers to different names. It is a GTIN, and depending on where the product was registered it may also be called an EAN or a UPC. They all mean the product number printed under the lines.
Here is the part people miss: the lines and the digits say the same thing. The scanner reads the lines; the digits exist so a person can type the number when scanning is not possible. The 12 digit UPC barcode has been in use at tills for more than 45 years, and it was originally introduced to make price lookups at the point of sale faster.
But a scanner only reads a number. Your till supplies the meaning. Until that number is saved against a product name and price in your system, a scan tells you nothing useful.
If your own packaged or repackaged goods have no number, GS1 Nigeria is the local place to check or register one. You can also use Verified by GS1 to check whether a number already exists.
With that clear, the scanner itself is much easier to understand.
What a Basic Scanner Is and How It Types Like a Keyboard
By now you know a barcode is just a product number. What reads it? For most small shops, it is one of two devices: a USB scanner on a cable, or a Bluetooth scanner that connects without one. Neither needs an IT person. You can set either up yourself.
Most basic scanners work as a keyboard wedge. Scan a barcode and the scanner sends the number into your till one digit at a time, exactly as if someone typed it. Nothing special is installed. The till simply sees typing.
That matters at the counter. Wherever the cursor sits, the number lands there. In a search box, the scan opens a product. In a quantity field, it fills the quantity. So the person serving should click the right field before scanning.
USB first. Plug the scanner into the till or computer. Wait for the light or the beep. On most machines it is ready to work, with nothing to install and no software to download.
Bluetooth next. Pair it once, the way you pair a phone to a speaker, and make sure it is set to keyboard mode (often called HID in the manual; most are by default). Keep it charged. It only works within a certain distance. Write the pairing steps down and keep them at the counter. A lost pairing looks like a broken scanner.
One rule saves the most confusion: scanners do not know prices. The price comes from your till. That is why your product list must be set up before scanning becomes useful.
How to Test Your Scanner Before You Rely on It
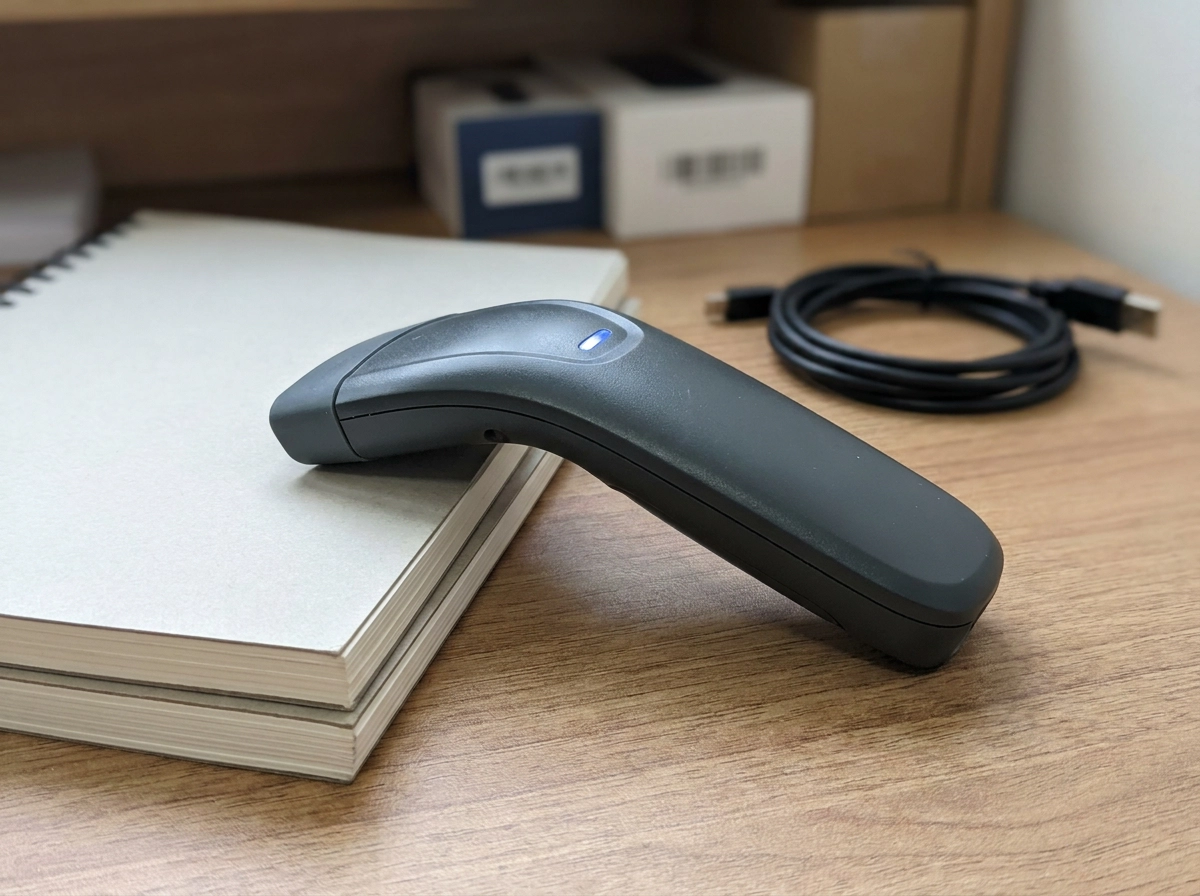
So the scanner is plugged in or paired. Before you build your day around it, run six quick checks.
- The blank-field test. Open a notes app or any empty text field on the till or computer. Put the cursor in it and scan one product. A good scan drops the full number in one go, complete and in order.
- Check the number against the label. Compare what appeared on screen with the digits printed under the lines. Missing or jumbled digits usually mean a damaged barcode, or the scanner was held too close or too far.
- Test five to ten products, not one. Print quality, label size and curved surfaces all behave differently. A scanner that reads one tin may struggle on a bottle or a faded packet.
- Test at the counter. Scan where your staff actually stand, under your own lighting, at the usual angle and height. A scanner that works in your hand at the back of the store may fail at the till.
- Test the connection. For Bluetooth, walk to the far end of the counter and scan to see whether the link holds. Check the charge before a busy Saturday. For USB, make sure the cable is not loose and the plug is fully in.
- Test inside the till. Scan a product already saved. Confirm the right name and price come up on screen and print correctly on the receipt.
What to Do When a Scan Shows Nothing
Even a scanner that passed your tests will sometimes show nothing at the counter. Split the problem first: did it beep? A beep and total silence are different faults. Teach the person at the counter to tell them apart before calling anyone.
Nothing happens at all. Check the cable or pairing, then the charge. Then the cursor. If the cursor is not in a field, the scanner types into empty space and looks broken when it is not. Click into the right box and scan again.
It beeps but no product shows. The number was read but not saved in your till. Save the product once with its number and price, and that barcode works from then on. This is a setup gap, not a scanner fault.
The barcode will not read. The label may be creased, faded, torn, curved around a bottle, or covered by a sticker. The digits under the lines are the human readable interpretation, there so a person can key them in when scanning fails. Type the number by hand.
There is no barcode at all. Repacked goods, or loose items sold by piece or by weight. Save them as items you can find by name on the till, so the counter keeps moving without a scan.
Physical fixes first: wipe the scanner's glass window, move out of direct sunlight glare, and change the angle on shiny wrappers. A dirty window stops more scans than broken hardware.
And the rule that protects your day's records: never guess a price when a scan fails. Type the digits from under the lines, or look the item up in the till.
Does a Scanner Need Special Software?
You have just worked through a silent scan. So a fair question follows: does the scanner itself need software? No. A basic USB or Bluetooth scanner needs nothing installed on your computer or till. It behaves like a keyboard, so the device sees typed numbers.
What your setup needs instead is the product list. Every barcode number must be saved against a name and price in your till. Without that, a scan reads perfectly and still shows nothing. The scanner only supplies the number; your till supplies the meaning.
Inside the scanner box is a small setup sheet, a card of barcodes you scan to change simple settings, such as adding a key press after the number. Follow the sheet that came with your scanner.
Keep scanner settings and till settings separate. If your till asks you to choose an input device or scanner mode, that is a till setting, not something you install on the scanner itself.
Keep the box and manual at the counter. If a setting changes by accident, the manual shows you how to put it back without buying a replacement.
How Barcode Scanning Works With Anvela
Your basic scanner needs no software, and Anvela's Till is built to accept it. Anvela's Till works with USB or Bluetooth scanners of the kind we just covered. If your scanner types a number into a field, the Till takes that number and turns it into a sale.
In short, you do not need special hardware. The scanner you buy from any computer shop or market stall should work with the Till as long as it types like a keyboard. Save each number against a name and price first, then scanning starts earning its keep.
Anvela prints 58mm and 80mm receipts. The small roll printers common at market counters and the wider ones both work, so pick based on your counter space and how much detail you want on the slip.
No scanner yet? The Anvela phone app can scan with the camera. A phone can stand in at the till on day one, or cover when the scanner is charging or has gone missing.
Sales, stock and receipts sit in one place on web or phone. A scanned sale shows up in your records as it happens, instead of being written up later. If you are still choosing a till, this checklist for inventory software in Nigeria helps.
Next, a short note on how barcodes are changing.
A Quick Word on 1D and 2D Barcodes
One more thing worth knowing, so nothing surprises you later. GS1's Ambition 2027 is a global goal to move retail from 1D barcodes, the striped kind you already know, to 2D codes that can hold more, such as batch numbers and expiry dates. It is gradual, not a switch. Brands pick their own timing, packaging carries both kinds of code during the change, and shops are not expected to switch overnight. For your provision store or small supermarket today, the striped 1D barcode is what your goods carry and what your scanner reads. Nothing in this guide changes because of that 2027 goal. The one thing worth doing now is keeping your product list and prices in a till that runs on the web or on a phone, so your setup is not tied to one counter machine as standards move.
Start With One Scanner and One Week of Scanning
So you have the background. Buy one basic USB or Bluetooth scanner and run the six tests above over one week with ten of your own products. Keep the pairing steps and the manual at the counter. A scanner is only as useful as the list behind it. Save every barcode number against a product name and price in your till before you trust it. The scanner reads numbers; your till supplies the meaning. When a scan shows nothing, work through the cases in order and never guess a price. Type the digits from under the lines or look the item up. Anvela's Till works with a basic USB or Bluetooth scanner and prints 58mm and 80mm receipts. If there is no scanner at the counter, the Anvela app can scan with the camera. When you are ready to sell beyond the counter too, read our guide on where to sell products online in Nigeria. Start free at https://anvela.ng, free until 12 January 2027. For help setting up your first scanner, WhatsApp +234 814 062 7278 or ask for a phone call.
- Barcode scanning
- Stock
- Selling
Home · Start free · Anvela Market · About · Privacy